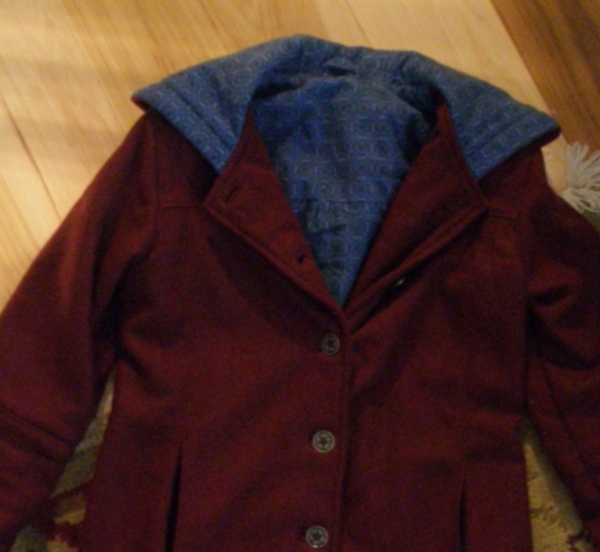
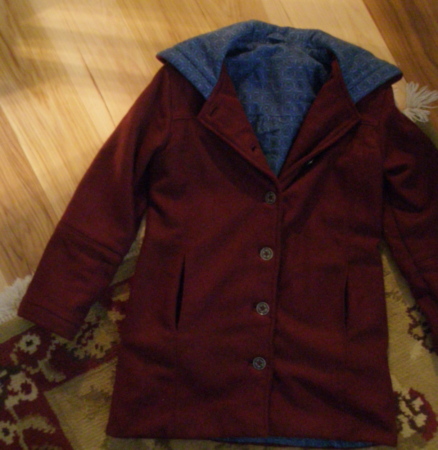
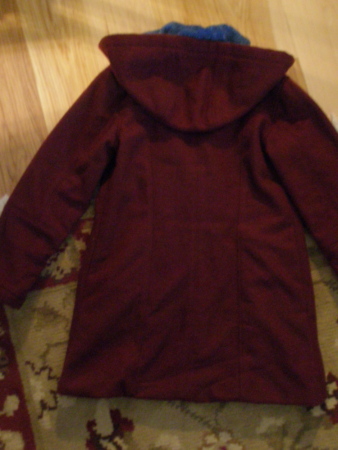
For years I’ve tried to find knitted hats to match my daughter’s winter coat. This year, since I have extra wool left over, I decided to make her a hat. Though I may try to felt a cloche hat someday, for now a simple beret will do. There are lots of tutorials and free patterns out there, but I want to make sure it fits, without using elastic or knit ribbing for the band. Using her head measurement, I’m drafting a pattern just for her. Each hat took about 1/2 hour to sew.

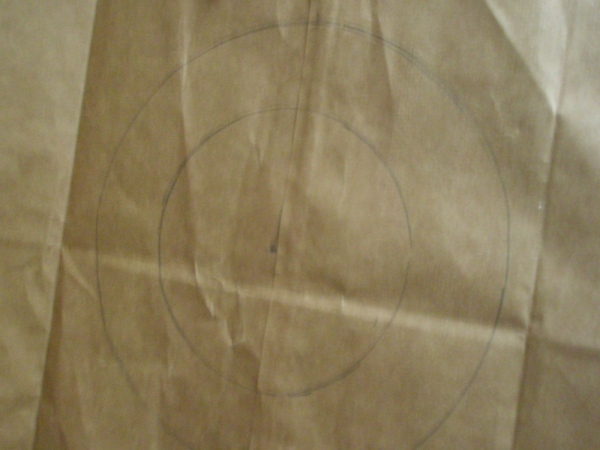
It’s simple math, really. For my pattern, I need to draw a perfect circle. To draw the right size circle for her head, I need to have a radius. To find a radius of a circle, knowing the circumference helps. Hop on over the math goodies website for additional circle, diameter, radius and circumference talk 🙂 Once I know the radius, I can use a compass (or a makeshift compass) to draw a perfect circle in the exact size I need. This can work for any size head, btw. Her head circumference divided by 2 pi, or r = C / 2π . To avoid much complication, I will go with the value of pi being 3.14 😉 her circumference is 21, so 21 divided by 6.28, gives me a radius of 3.343949. Rounding, I get a manageable number of about 3 3/8 inches, since that is easiest to find on my straight edge ruler.
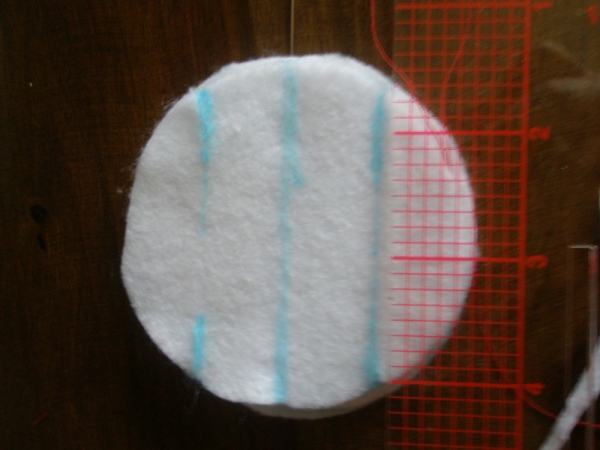
Now to make a perfect circle pattern with my radius. You can use the string method if you don’t have a compass. Tie a pencil to one end of a string, and pin the other end to a point on the paper, at the point where the distance between the pinned place to the pencil measures your radius . Swing the the pencil around, drawing a circle.
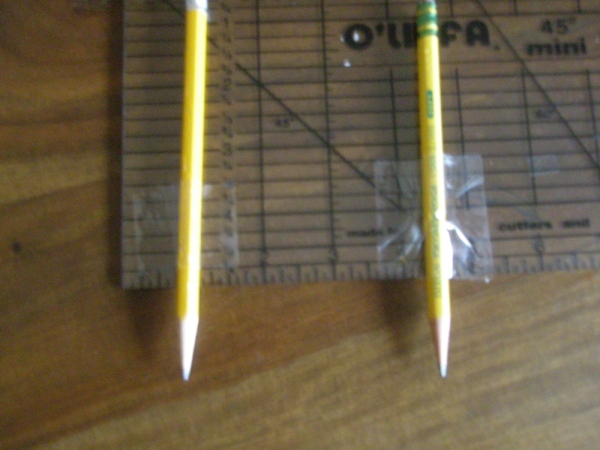
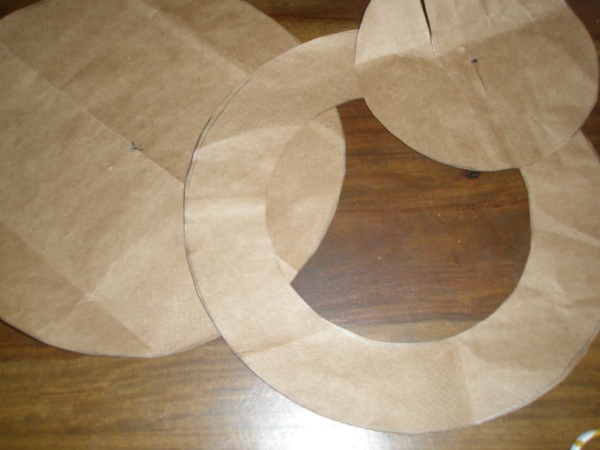
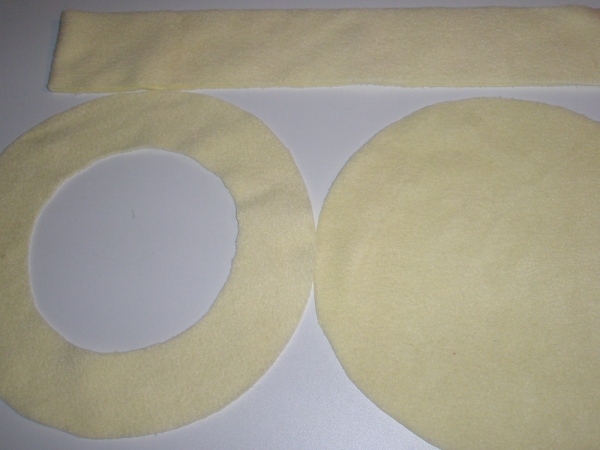
I used my short straight edge ruler. I taped 2 pencils to it, the distance between them being my radius measurement. The kept one on the center point and spun the other around to make my circle. That is my inner circle. For the outer circle, I added 2 inches to my radius. Make 2 templates for cutting out my fabric.

sew right sides together
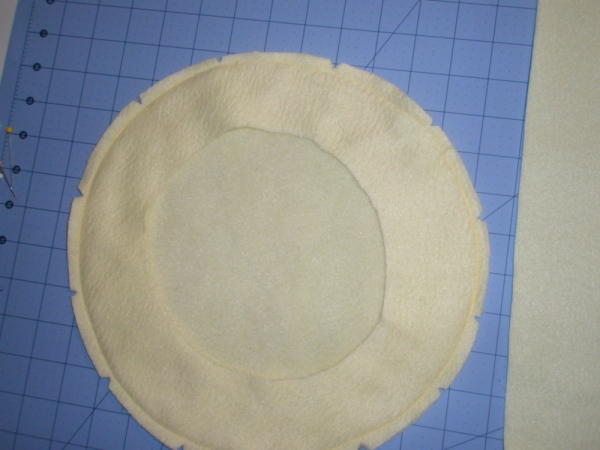
clip seam allowances
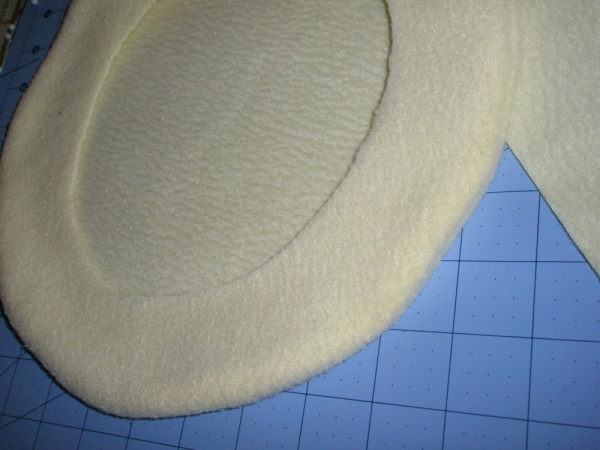
turn hat right side out, smooth out curves
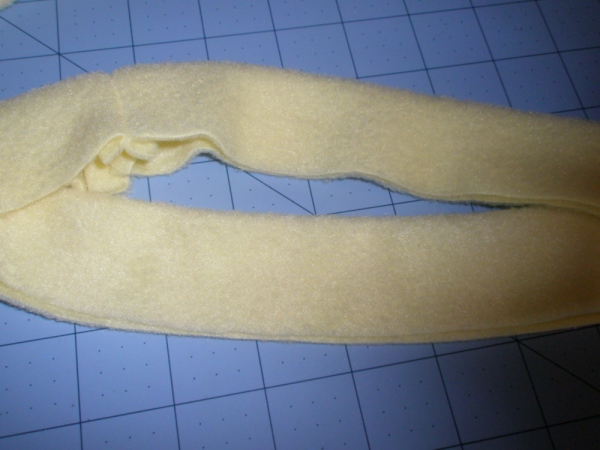
sew ends together of band piece, right sides facing, to form loop. Fold with wrong sides together.

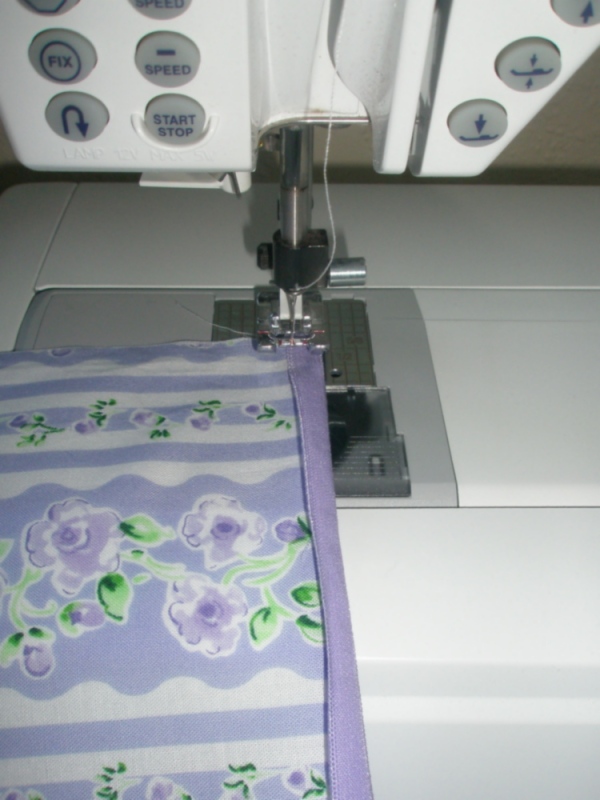
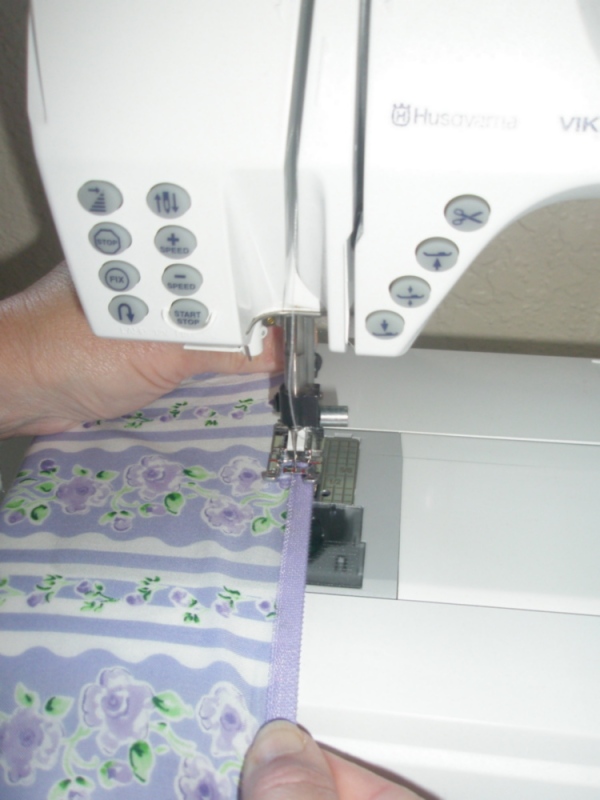
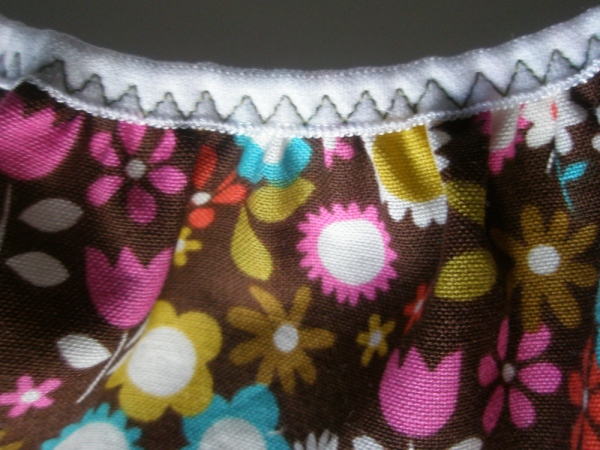
Pin and sew band to hat, right sides together. I marked the band and hat into quarters. Pinned in together at these points and sewed them together using a slight zigzag and stretching the band to fit as I sewed.
Trim seam allowance

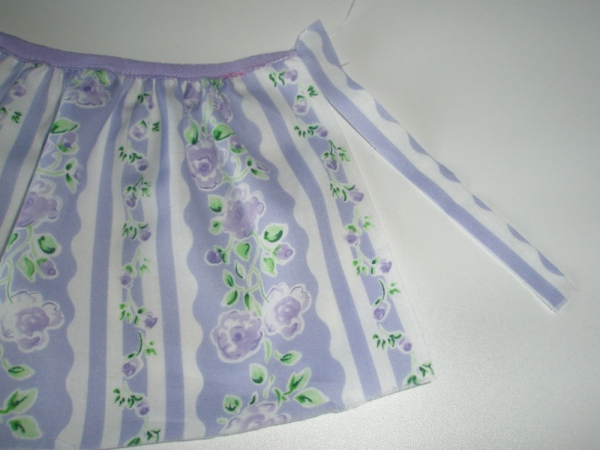
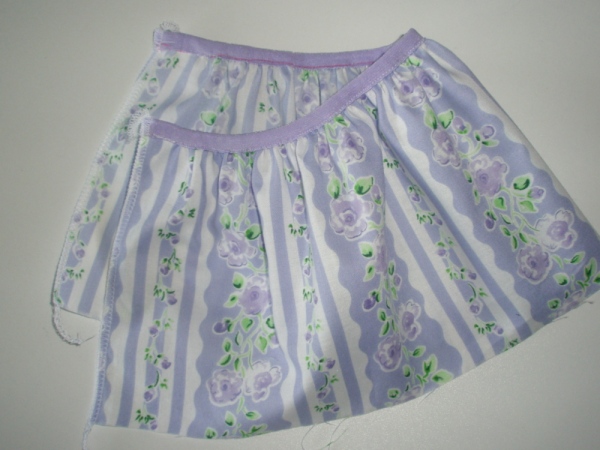
Voila, un chapeau!
Playing the milliner has been fun. I experimented with other designs…this one is worth sharing, I think. It’s a pleated beret. I ended up with 3 different hats and here’s how. Begin by adding 3 inches to the original radius and only cut out the solid circle piece. My radius originally was 3 3/8, so my new radius was 6 3/8 inches. cut band piece as I did for the classic beret. (3 inches by 21 inches)
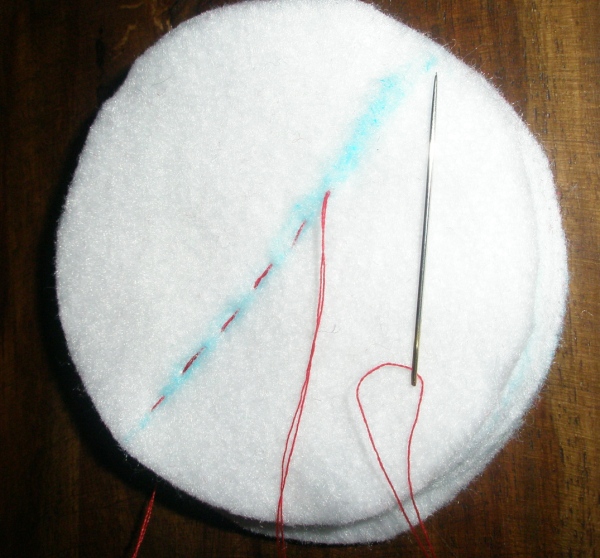
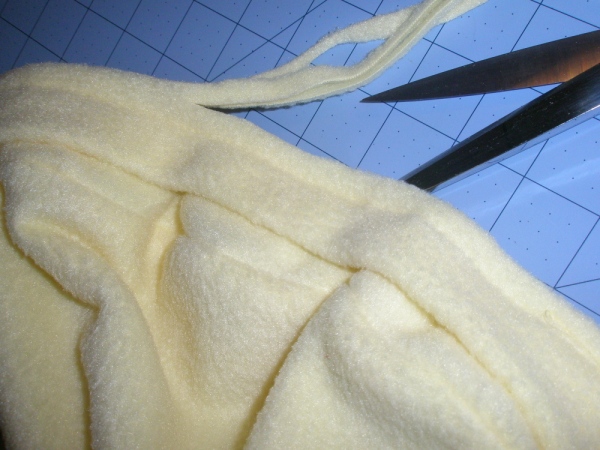
Make pleats all along the hat piece.

Sew band piece together, with right sides facing, just as done for classic beret. Fold wrong sides together.
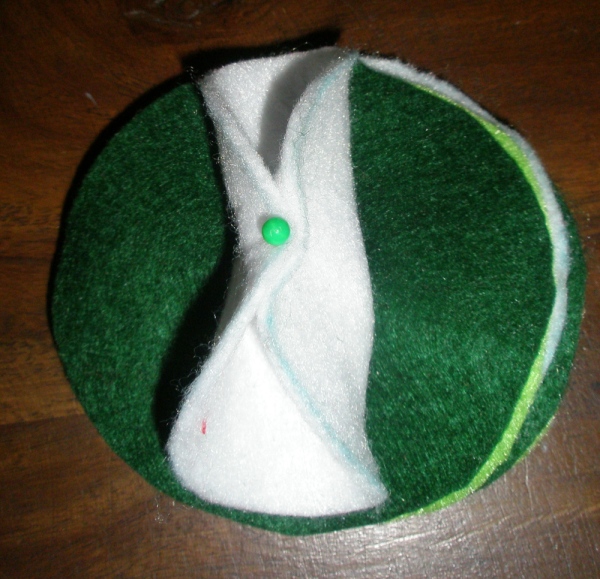
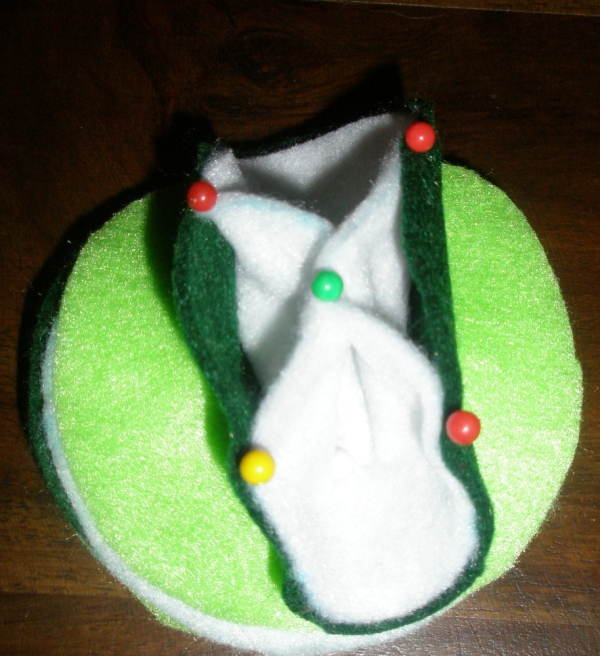
Pin to band piece to hat piece, right sides together, adjusting the pleats to fit, and allowing for a little stretch.

marking the hat and band into equal quarters, stretching brim to fit hat piece within each section as you sew
Sew seam and trim seam allowances.

Adding 3 inches was too much in my opinion. The hat was a bit too floppy. My husband said it reminded him of Chef Brockett. So I tried again using my original pattern piece for the classic beret ( radius plus 2 inches)
It fit more like a beanie and not at all what I had in my mind.
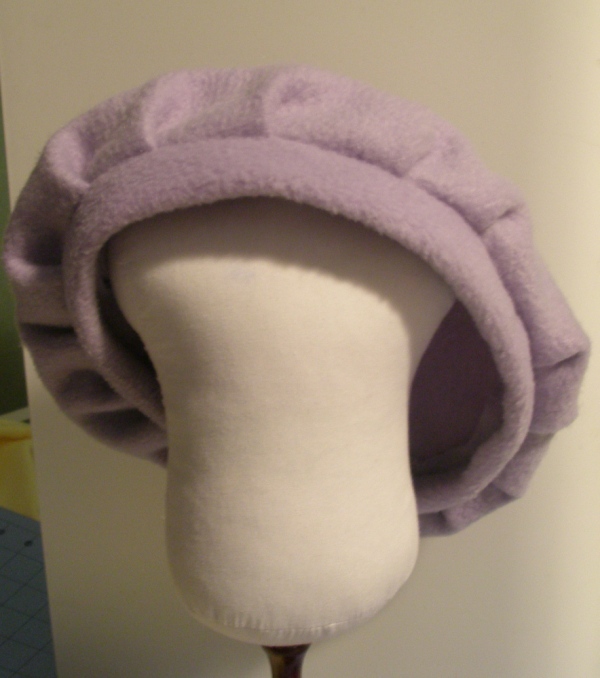
So my third attempt I found a middle ground, adding 2 1/2 inches to my radius (you know, that one I calculated from the circumference of the hat wearer’s head–way back in the beginning of this tute)
This looked much closer to what I imagined.
Now after all those fleece hat experiments, I turned back to the original goal: a wool hat for my daughter. I made a classic beret, but made a few changes, because the wool hat is a non-stretch fabric and I wanted it to look a bit more tailored.

First, I redid my pattern. The band will need to fit exactly, without the aid of stretch. When calculating this radius, I take into account seam allowances. So I draw a circle with a 3 inch radius, instead of 3 3/8 inch. I was also more careful about drawing my circles exactly. I used a rotary cutter to cut the fabric out, which seemed more accurate.
I cut my band piece on the bias to help it curve as I sew it to the hat pieces. I also cut the band piece 1 1/2 inches wide, so my hat could be a petite beret 🙂
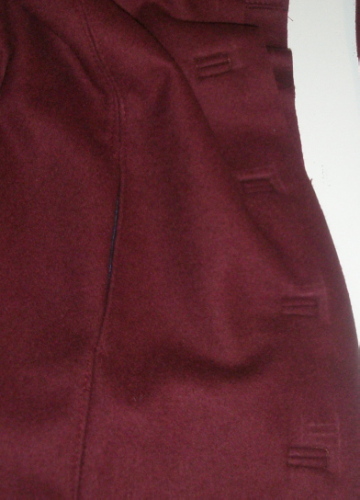
I couldn’t pass up an opportunity to top stitch :). Top stitching added a bit to the completion time.
All said and sewn, it still ended up a bit big, in fact over an inch too large in circumference. In hindsight I realize I trusted my geometry skills and circle drawing, when I should have measured and sewn the band to the desired circumference and made a new hat piece if it didn’t fit.
I did just that with the second wool beret. First I altered the circle (pattern) to be slightly under 3 inches in radius. It is that center circle (the one that gets cut out to make a doughnut pattern piece) that matters most.
This finally did the trick and the hat should fit perfectly. I will try to update post with a better pic of classic beret.
Another possibility, instead of sewing a whole new hat, would have been to open the seam in the band on the inside of the hat. use a safety pin and feed some elastic into the band. Sew elastic ends together and slipstich the opening closed.
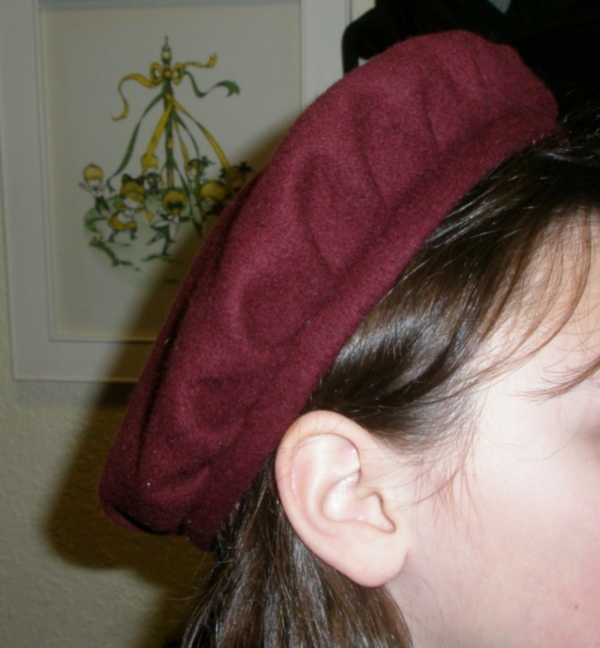
I also made up a pleated beret, which looked really cute using the wool. My daughter likes this one best.

Hope you enjoy these tutorials and get some quick hats sewn up 🙂
~Erin