
Here’s my sew along, designed for beginners (or new to sewing knits) in hopes of teaching new skills and empowering others to try new things. I will be using a Jalie pattern, #2215, which includes sizes for my little girl, teenager, and me. The pattern is designed in such a way that I can trace a custom fit for each of us. The fit is amazing and easier to adjust than I could have imagined. For seam allowances follow your pattern.
Machine and sewing stitches:
I use my serger, but a traditional sewing machine can be used as well, which I have done with good results. To use a traditional sewing machine, sew side and crotch seams with a stretch stitch. Some machines have this, sometimes called a lightning stitch, which looks like this:


If you don’t have a lightning stitch, then it’s best to use a a very slight zigzag stitch. Stretch fabrics will stretch, so your stitch needs to have some stretch, too, or the thread will break when the garment/fabric stretches. Zigzags allow the fabric to stretch without breaking the threads. Serged seams have a lot of stretch, which is why sergers are used a lot for sewing knits. However, knit fabrics don’t fray the way woven fabrics do, so there’s no need to finish seam allowances if using a traditional sewing machine.
Another technique for using regular sewing machine is to stretch the fabric slightly as you sew a straight stitch. then use a zigzag seam to finish the seam allowances. This takes some practice, but results are very nice.
Fabric choice: make sure you have chosen a knit fabric with stretch and recovery. Cotton interlock or a jersey knit without lycra will not work well for this project. It will stretch, but not recover. The result may be baggy bum and baggy knees pants 😦
Okay, let’s get to it. Here is my method for using stretch knits.
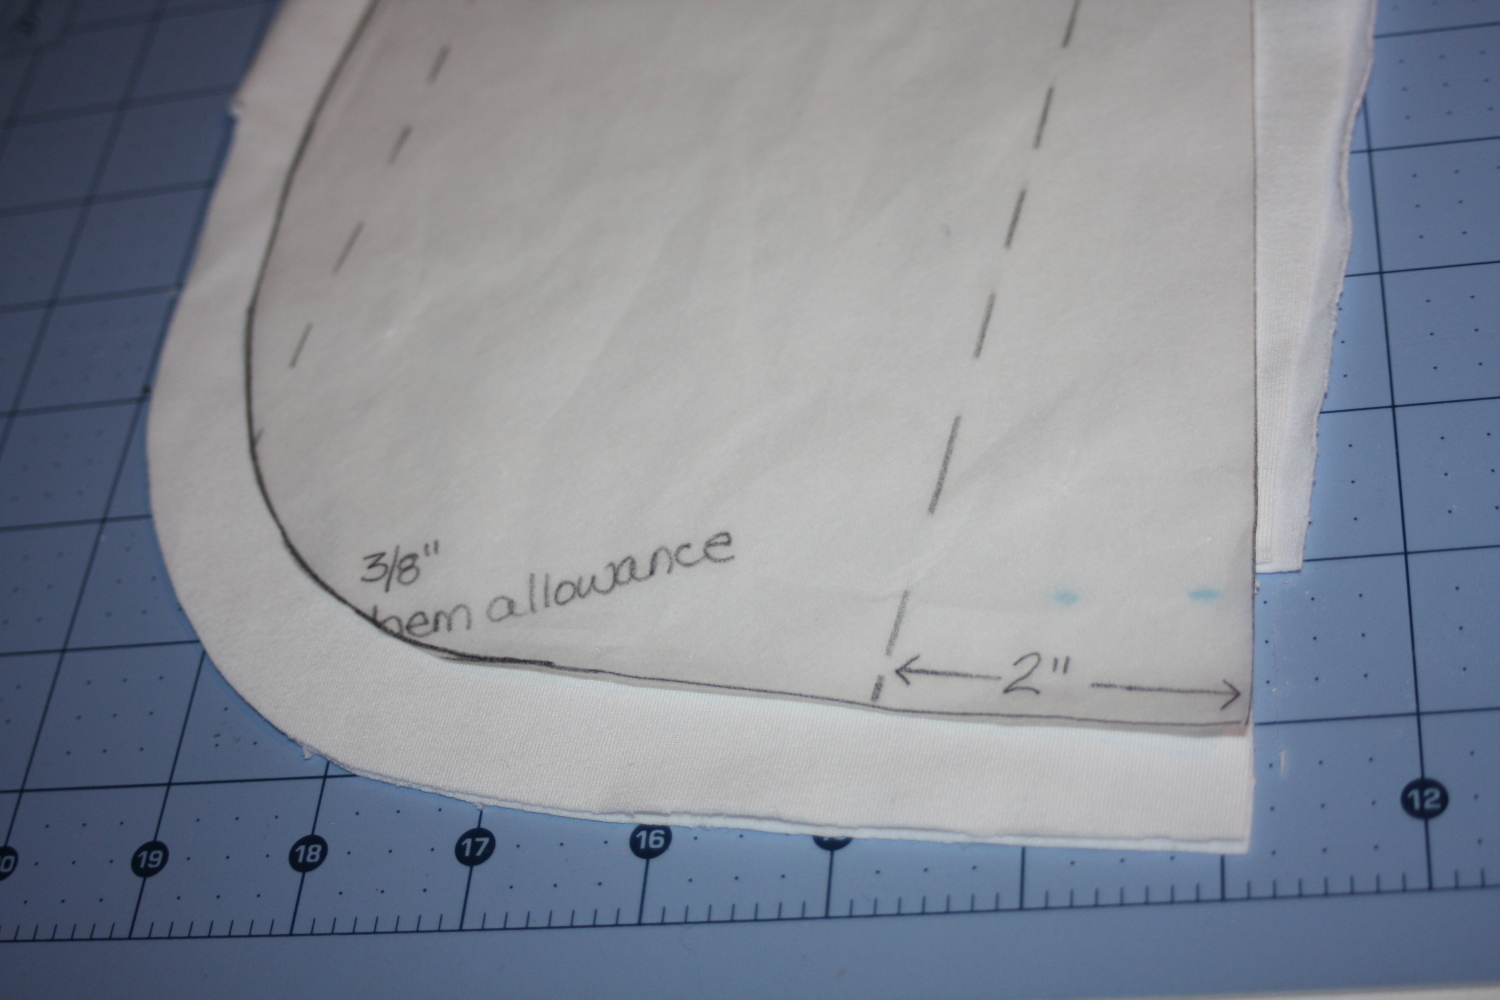
Step 1Cutting out is important. Lay down your fabric, so that you can see the fold is on the grain. This important so your pant legs fall straight. Have you ever bought rtw pants and one leg twists? Well, that happens when it’s not cut straight on the grain. Get as close as you can and you’ll be fine. You just don’t want it to be way off. Here’s how I do it. I don’t use the selvage edge as I would for a woven; I use the fold edge with right side of fabric facing up. When you look closely, you’ll see little lines of knit weave vertically on your fabric. Try to follow one line all the way up your fold. Here’s a pic to help (hover for more details):

Now make sure to measure the distance from the marked grain line on the pattern pieces to this fold, all along the grain line, to ensure your pattern piece is following the grain as it should. Handy pic of me doing this:
")
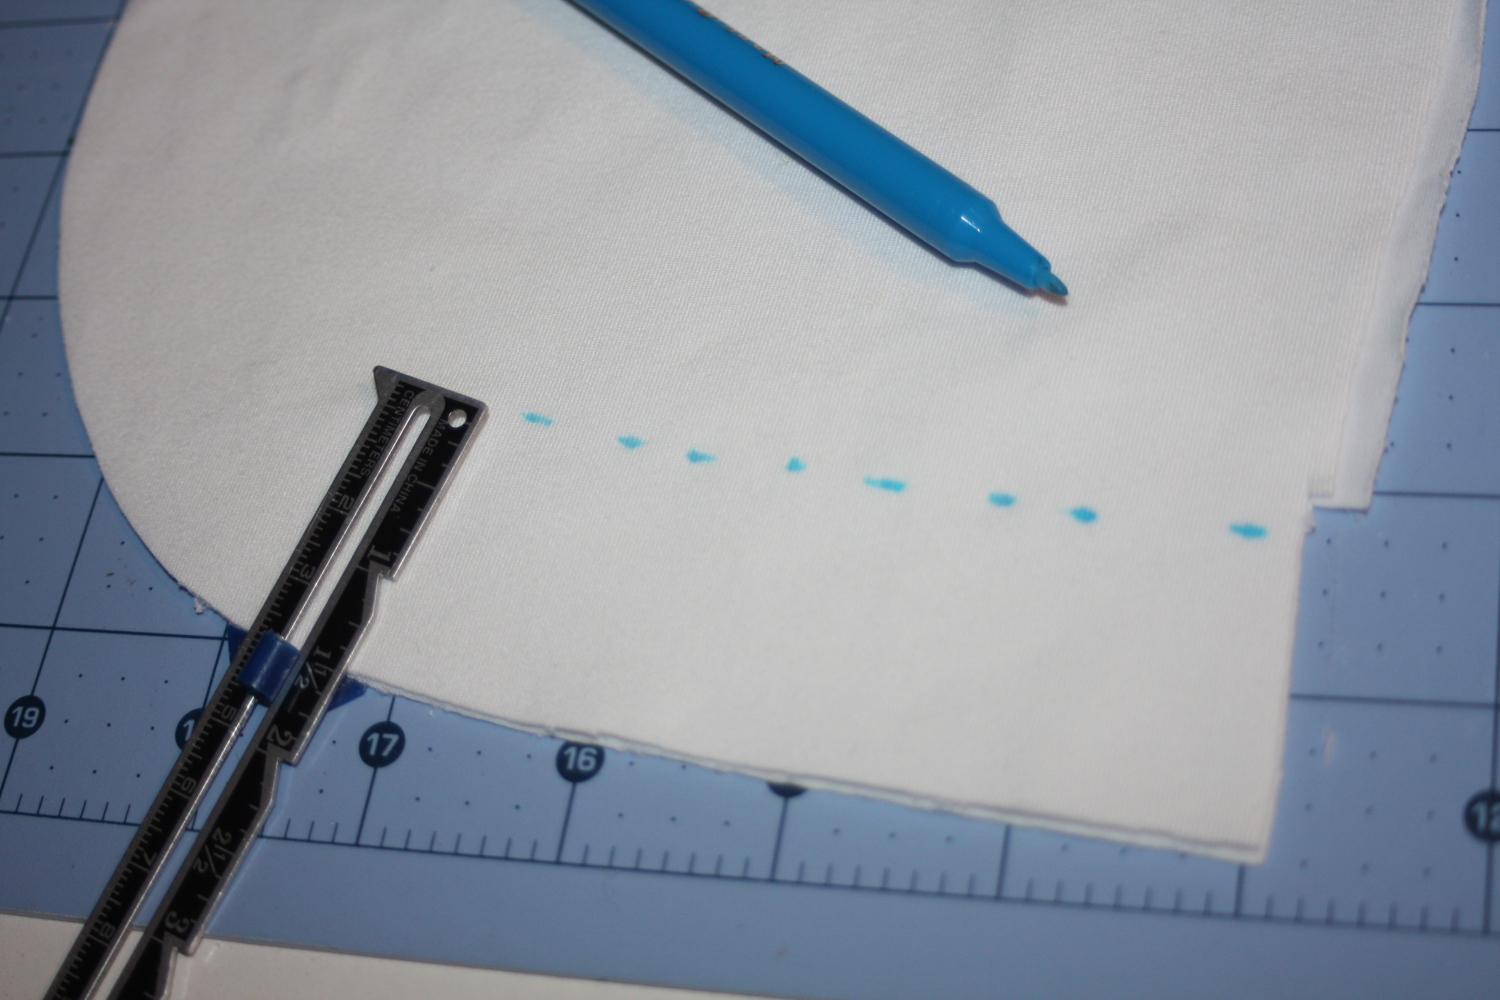
Pin along the grain line of pattern to keep it in place, while you pin all around the pattern pieces. Then cut the pieces out.
Step2 Side seams. Now make sure you can tell the right side of the fabric from the wrong side. Look closely at pink fabric pic above to see the difference(remember hover for details). Pin the front leg pieces to their corresponding back leg pieces, with right sides together. Begin at the top and work down. Pin outside the seam allowance and vertically(parallel to raw edge), so the pins are out of the way while sewing the seams. Make sure you have the raw edges together as you pin. Here is a teaching picture of how I do it:
")

Needles: Make sure you have stretch needles in your machine!

Sew your seams, making sure to remove any pins that start to go under your presser foot, as this will make you go wonky and off course. Here’s what it looks like for me. Notice all my pins are facing the same way? And they have the ball end toward me? This makes getting them out of the way, if needed, much easier 🙂

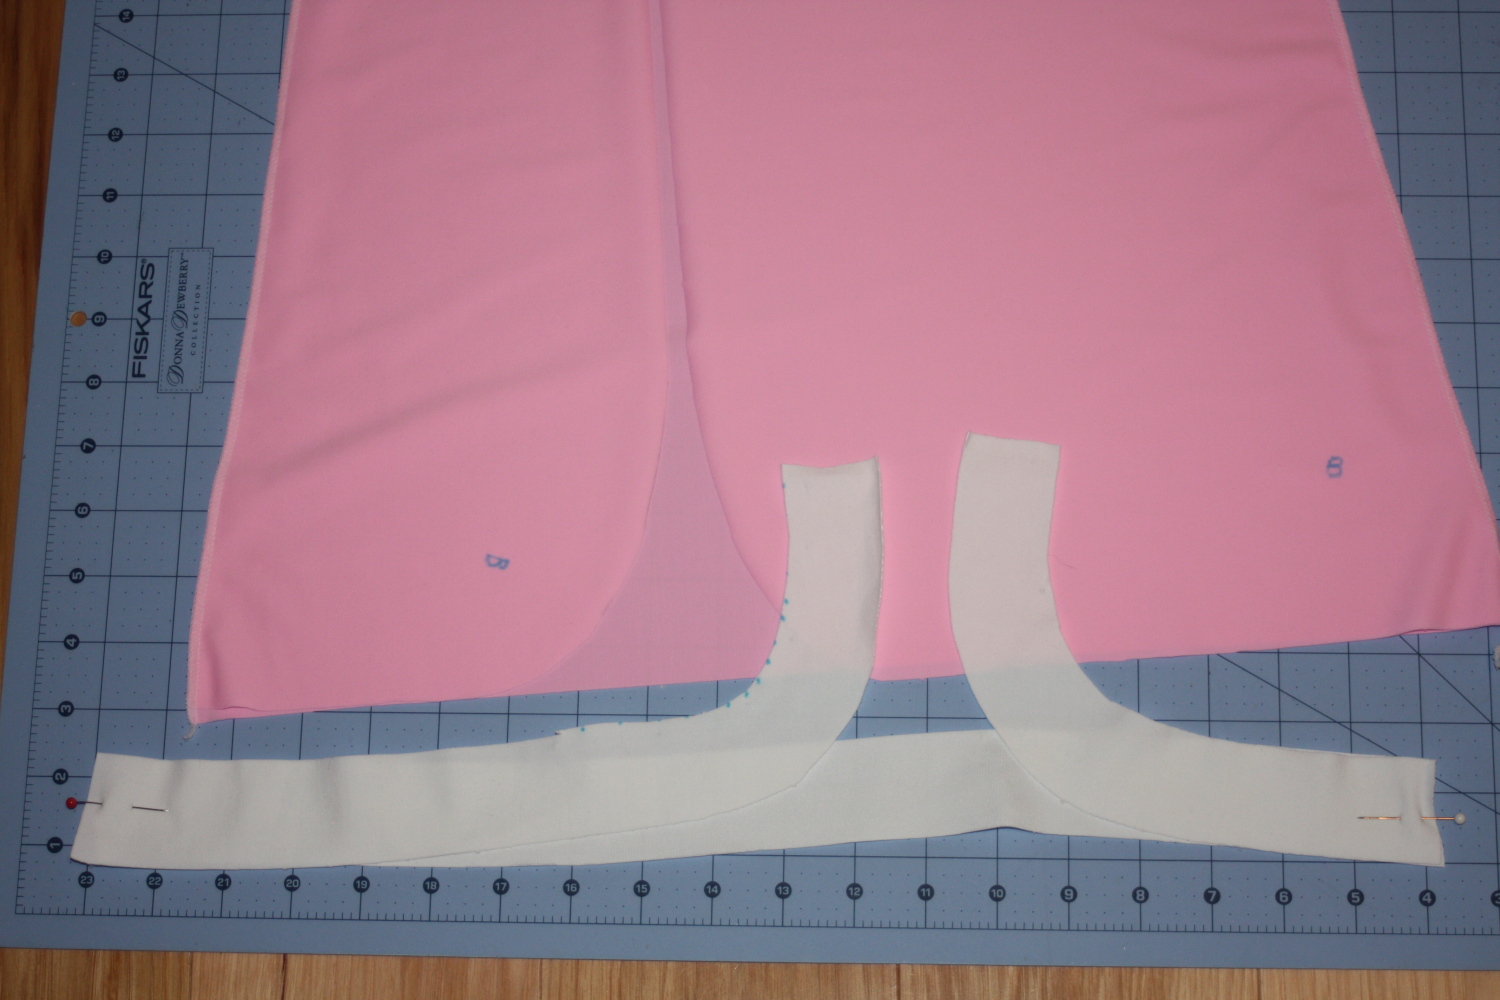
Step 3Remove pins.Turn one pant leg right side out, and place it inside the other leg, so that they are right sides together. Match up the crotch seams and pin in place(if pinned across the seam allowance as shown, then make sure to remove before sewing seam). Now pin the rest of the crotch in the exact manner as was done for the side leg seams.


")
Okay, put those sergers away. The rest will be done on the traditional machine.
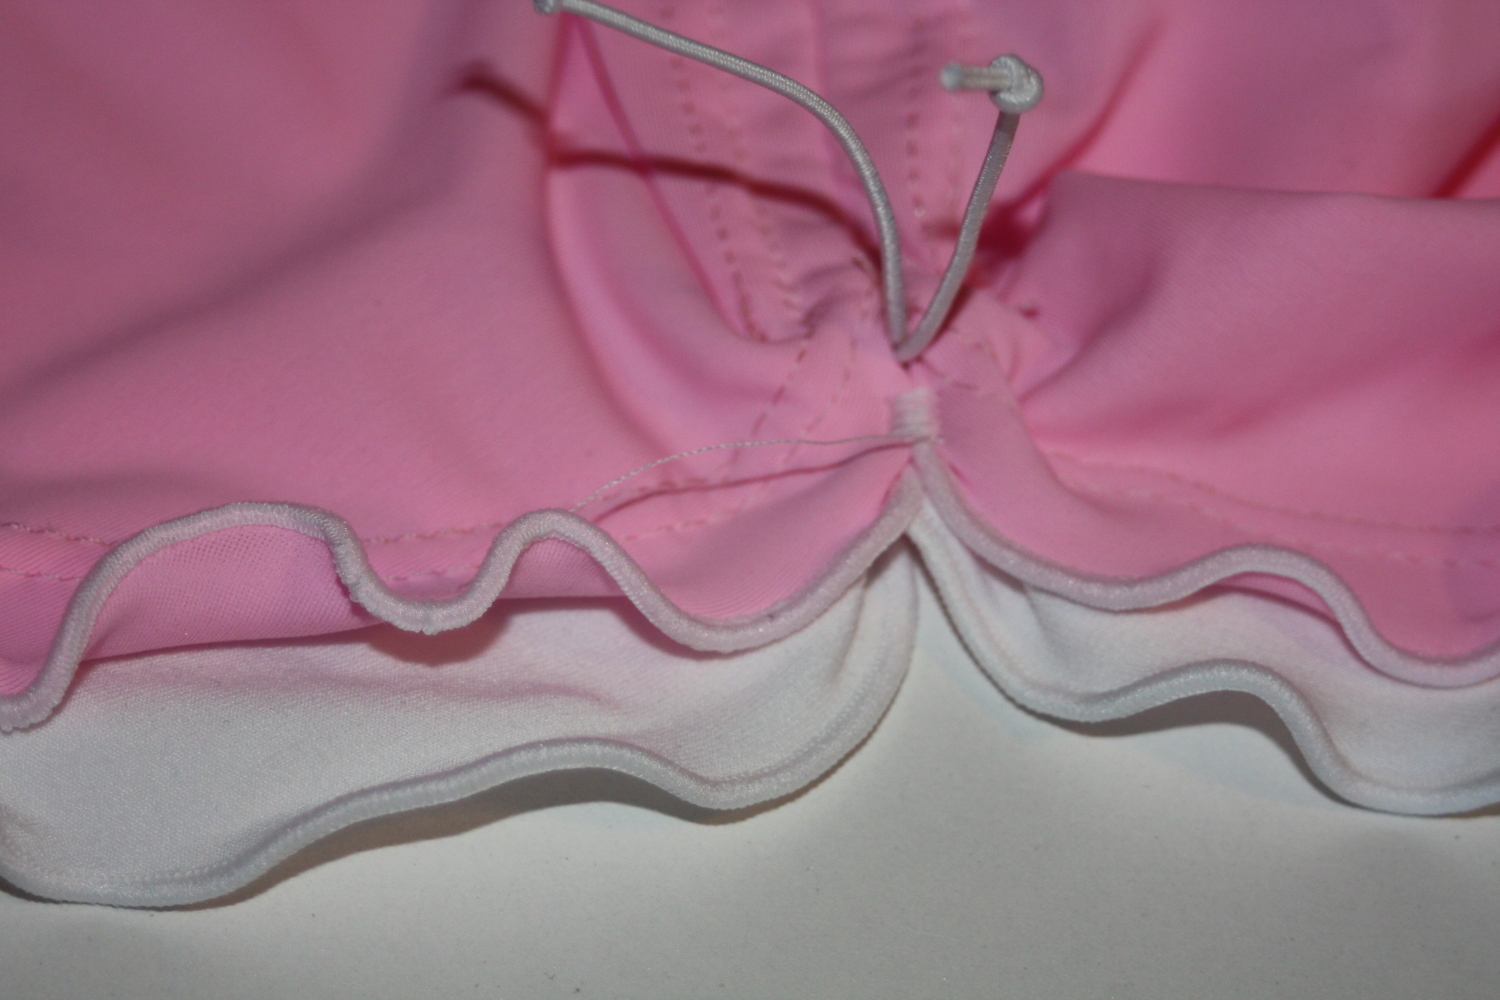
Step 4 Waist: Cut a piece of elastic according to your pattern. Sew into a loop, by zigzag stitching across the ends. Make sure it is not twisted.
 Now quarter it. Fold in half and then in half again. Mark the folds, in order to mark the elastic circle into equal fourths. With the garment inside out, pin the elastic to wrong side of pants, along the waist, matching the marks to a seam. There are 4 seams and 4 marks; you will only put in 4 pins and leave the rest loose.


To the machine. Using a zigzag stitch, you will sew the edge of the elastic to the upper edge of the fabric (waist). Sew each section at time, stretching the elastic to fit the section, keeping the elastic along that raw edge as you sew. As you sew, hold in front and in back of the presser foot, holding at the seams/pinned spots. Try to only stretch the elastic and not the fabric. Overlap your stitches, by sewing a bit past where you began. Now my pants are green 😉


Fold elastic to the inside, so that the elastic is now covered by fabric. Sew close to the raw edge again along the raw edge, again using a zigzag stitch. You don’t need to pin, or even stretch as much, just make sure fabric is smooth as you sew and elastic is up against the fold on the top edge. You don’t want a gap between the elastic and the folded edge, because this would make your waistband not as straight. Stretch so that the fabric is flat and without puckers. If adding a size tag or folded ribbon to distinguish front from back, now is the time to tuck that in 🙂


Step 5 Now for the hem. You can serge a rolled hem or lettuce edge hem, but my girls like the double stitched look. It’s easy to do as well. The main thing on this is the tools: thread your machine properly and make sure that twin needle is a stretch twin.Sewing a twin needle creates a stretch stitch that looks great and has a nice, clean finish.
Threading the machine: You will need to keep your needle threads separated in 3 places (if possible. this is how my machine is and many others, but you may want to look in your machine’s manual for specifics for your machine).
1. threads must unwind in opposite directions to keep them separate. The first spool, shown on the left below, will unwind over the top to the left side.

The second spool, shown on the right side will unwind over the top to the right side.

2. threads should be kept separate in the tension disk.There is usually a divider piece inside the tension disk, to create an inner and an outer path within the tension disk. It’s hard to get a photo of this, but you can see the thin metal piece sticking up in the pic below. This divider keeps the two threads separate, yet still fed through the tension disk.

3. the thread guide just above needles

Thread first spool completely, then thread the second. The first spool should be threaded through the inside track of the tension disk, and through the last thread guide (just above the needle). The second spool will then be threaded through the outer track of the tension disk, and will not be threaded through the last thread guide. Bobbin has no special instructions. After threaded, I am able to place the first spool back down into sewing position, to help keep the threads from touching.

Now that the machine is all set and ready to sew. Press the hem of your pants, using a hot iron. Fold up the lower edge of pant legs 1/2 inch (or hem allowance given in pattern) and press well. The press is important, because it allows you to sew your hem without the use of pins. You can pin your hem in place, but make sure to remove them before they go under the presser foot.
 Turn pants right side out, and sew hem with right side facing up. Place the fold along a sewing guide (those lines along the needle plate, marked with different seam allowances). Choose a sewing guide that is less than, but close to, the amount you folded and pressed (hem allowance). This will help you catch the raw edge on the inside. Sew hems, beginning at the inner seam, so your overlapping will not be a visible when wearing your pants. Use a long, straight stitch to sew hem (I use 3.5 to 4 stitch length). Go slow and follow the guide line to keep it straight. Overlap your stitching an inch or so. Tip: don’t back stitch when sewing with a twin needle. Often the result is a broken needle. Since you are overlapping, back stitching is not necessary.

Here’s what the inside looks like.

After you’ve sewn your hems, trim any excessive seam allowance than may fold and show on the outside. Otherwise, just trim all your threads and your pants are good to go!

Jalie yoga pants X3 🙂 I used 3 different fabrics: green are an organic cotton stretch jersey knit (the lightest weight of the three –very soft), blue are medium weight cotton(93%) lycra(7%) knit, and the hot pink pants are a medium to heavy weight cotton(90%) lycra(10%) knit. All fabrics were manufactured in USA and worked very well for this pattern. 2 pairs are moving to the house down the street, to live with my daughter’s good friend, who rejects most rtw clothes. The fabric and style many kids prefer at a fraction of what rtw yoga pants cost.
I hope this sew along has helped. Sewing knits is really fun, especially when you have the right tools, and know a few tricks for making it work for you. Please leave a comment if you found this helpful or if you have used this tutorial to make some stylish and comfy pants!
~Erin

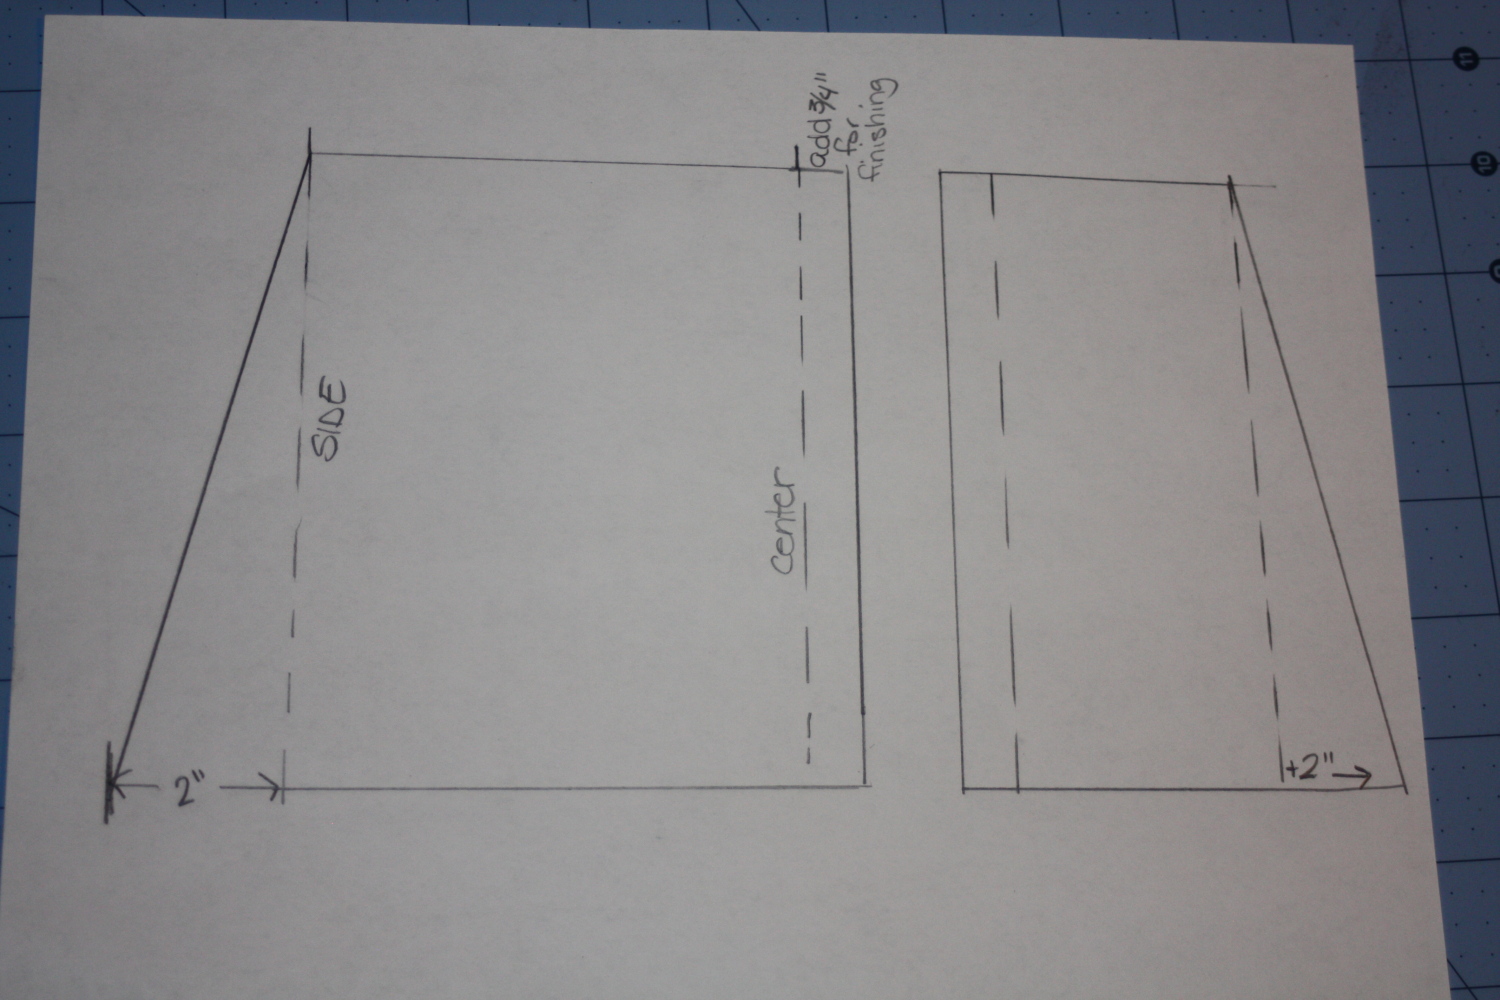
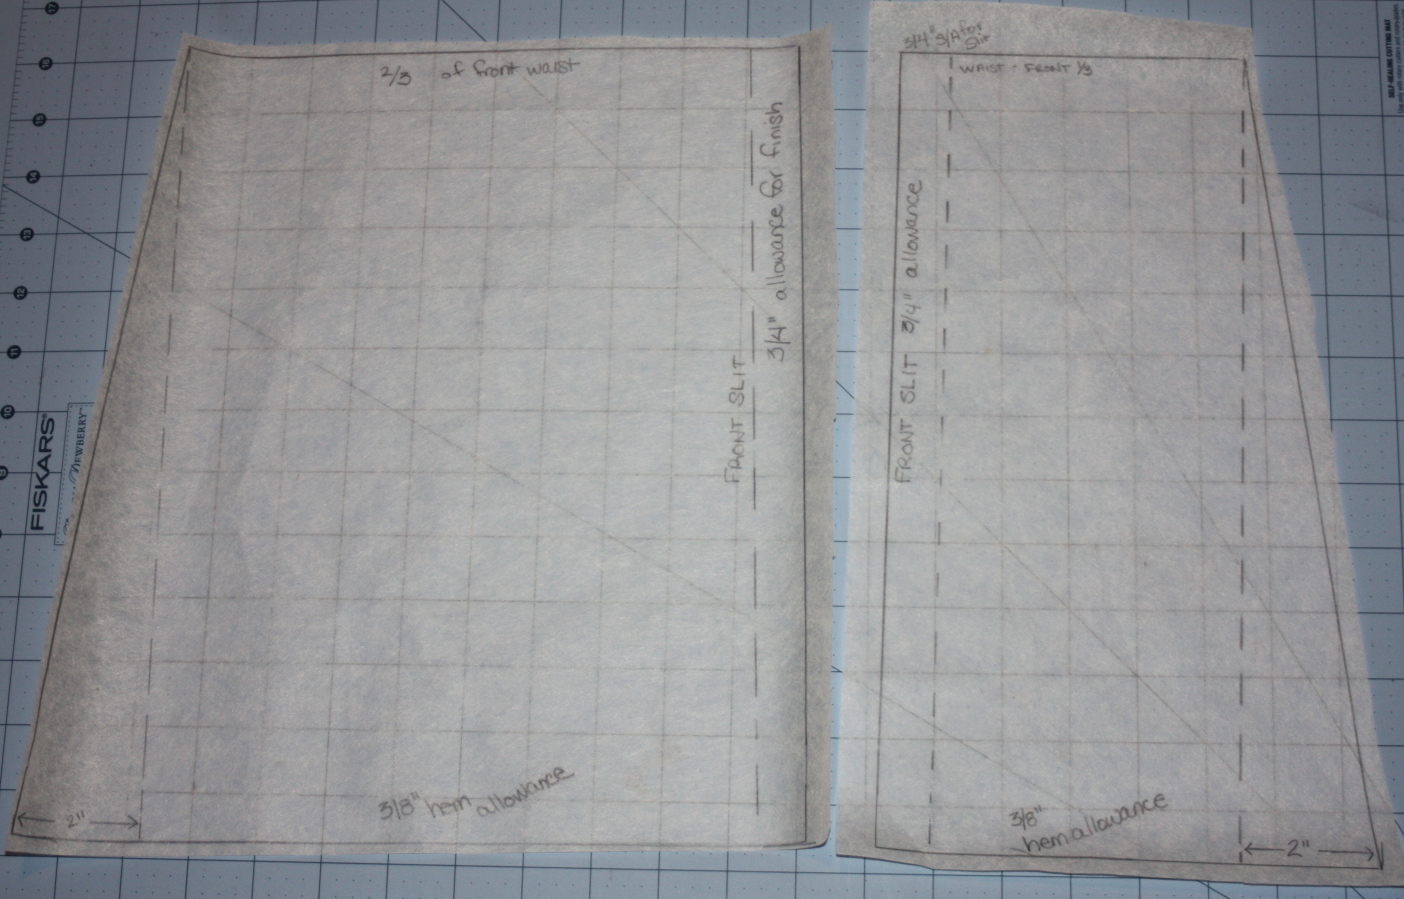
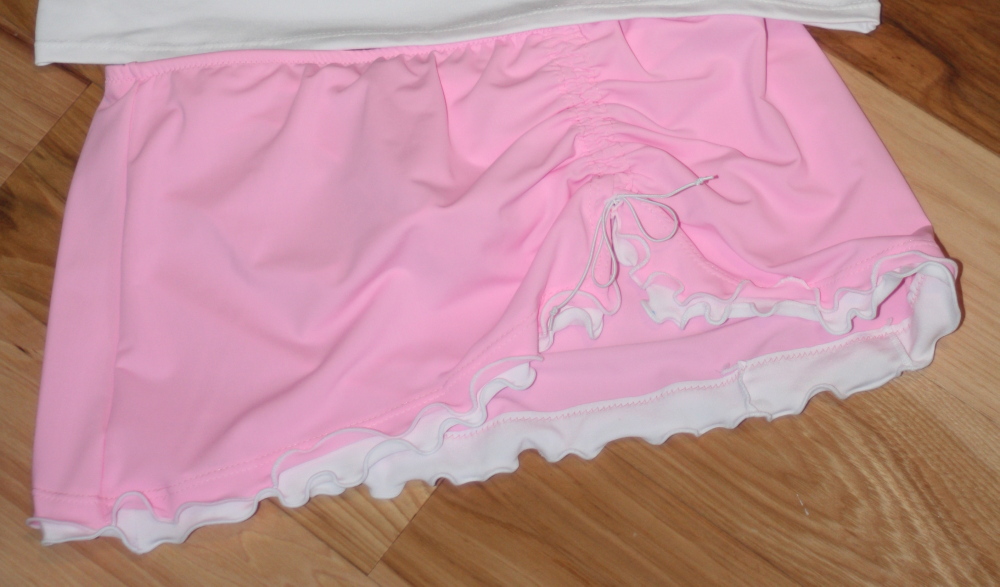 Swim skirts seem to be all the rage this summer. I especially love the Gottex swim skirts, but not so much the price tag on them. Whenever I see them, I think, “I could make that.” Here’s how I did it…
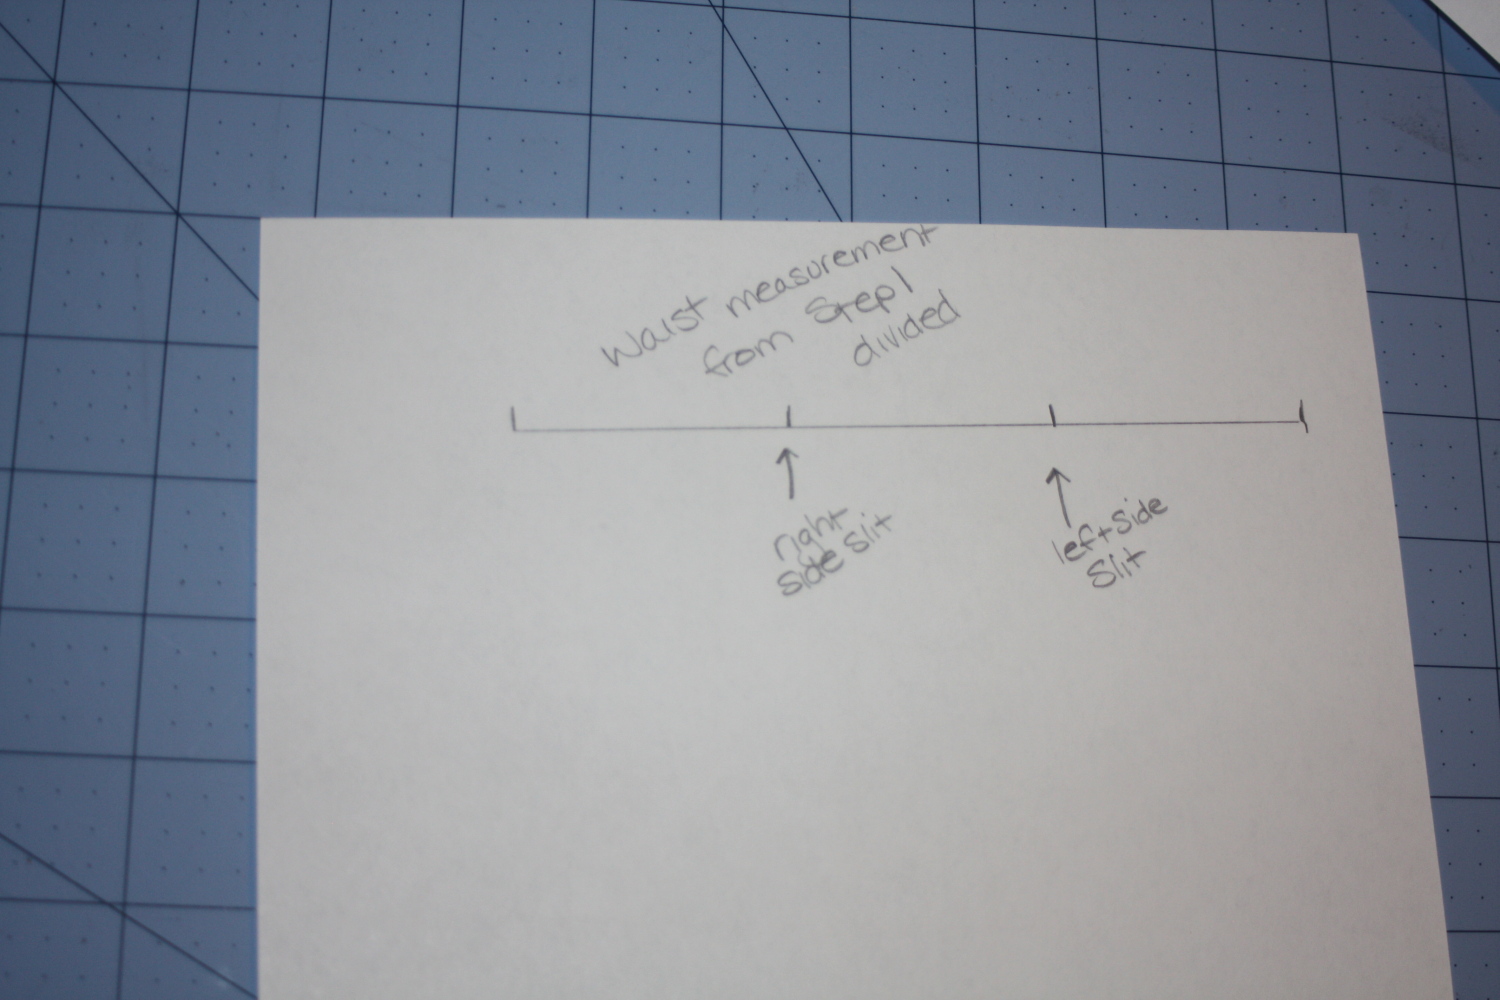


 </a
</a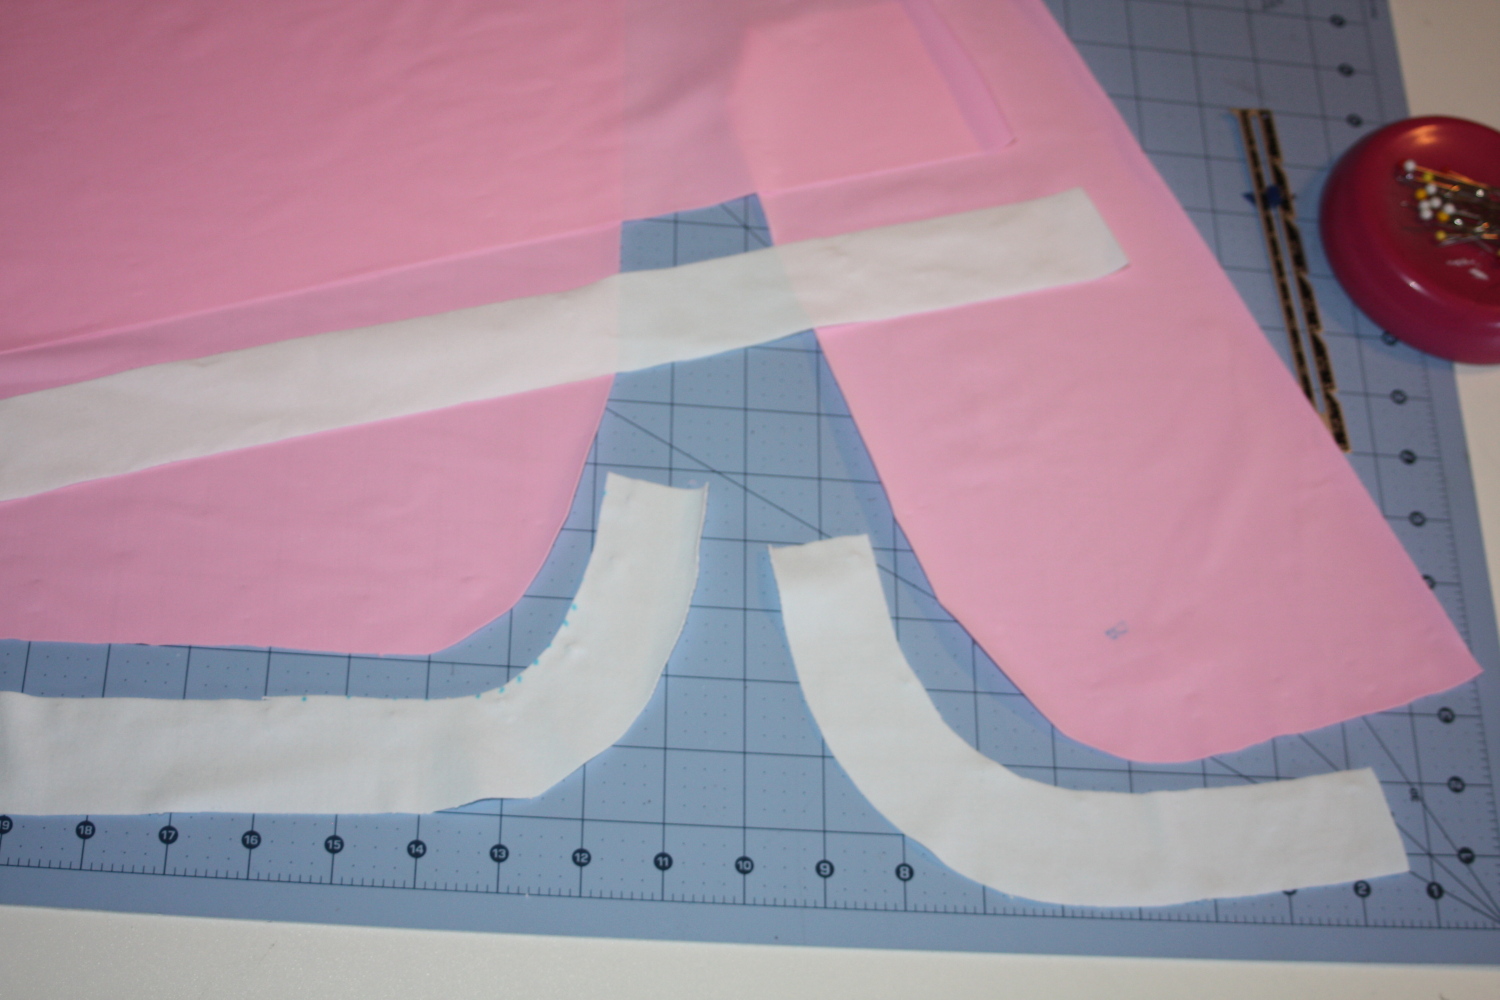


")
")


")


